How to create and deploy Office 365 with SCCM
How to create and deploy Office 365 with SCCM
In this article I will show you how to manage office 365:
- Create Microsoft Office Click to run package, from SCCM menu
- Chose different option to create your custom office (XML file)
- Overview for Office 365 Client Management
Office 365 Pro Plus today is the most used version of office in corporations environment, and today I will show how to manage with SCCM. In the past was quite difficult to create click to run package. Today with the latest versions of SCCM easy very simple :).
To create the package go to SCCM console, Software Library --> Overview --> Office 365 Client Management. Here you have a nice dashboard showing all you office 365 installations in your system.
Office 365 Clients, shows how many computers have office 365 installed from the total number of clients managed by SCCM
Office 365 Client Versions, shows how many versions of Office 365 you have installed in your environment, in my example is quite fragmented :(
Office 365 Client Languages
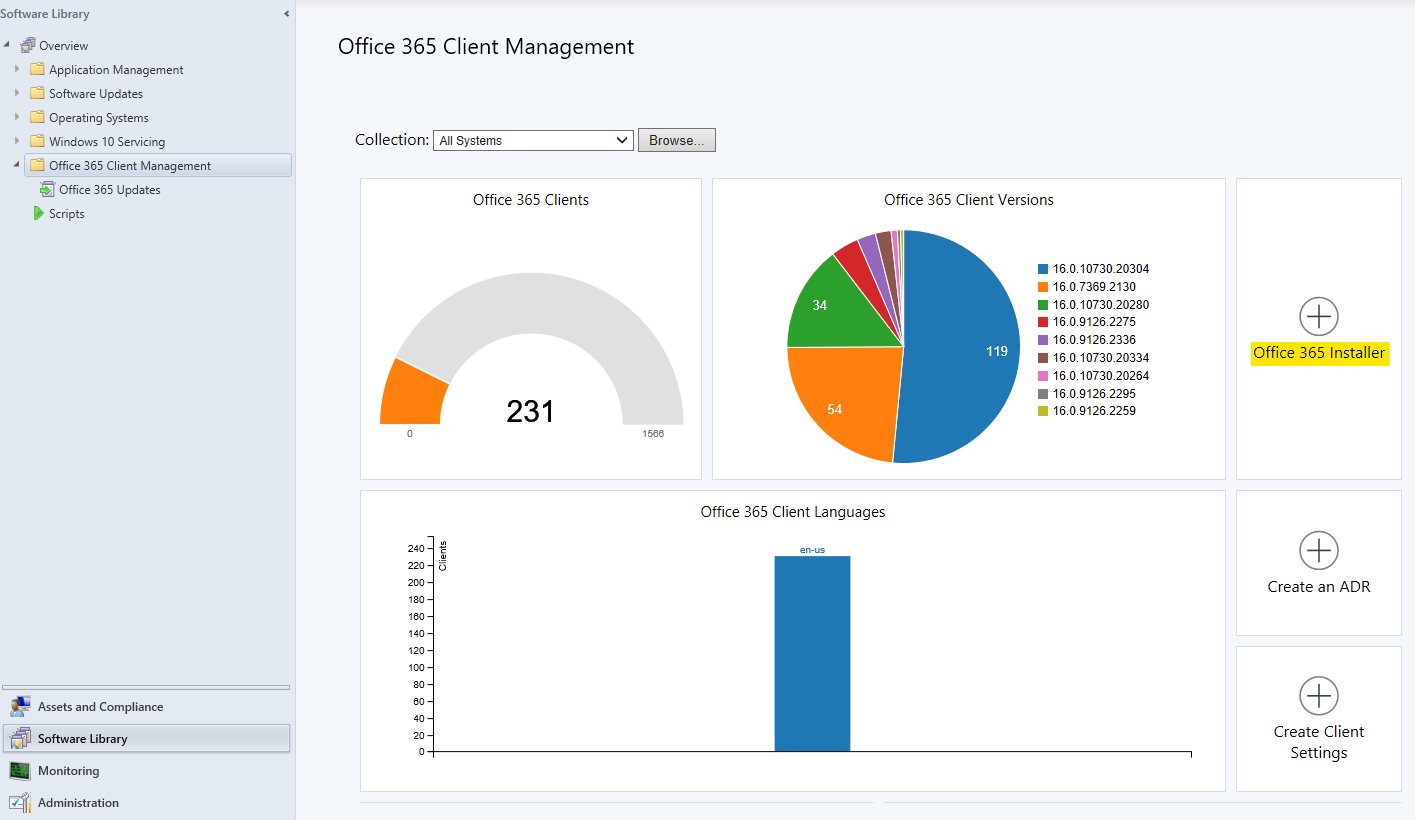
Now to create the package select the Office 365 Installer
- Application Settings
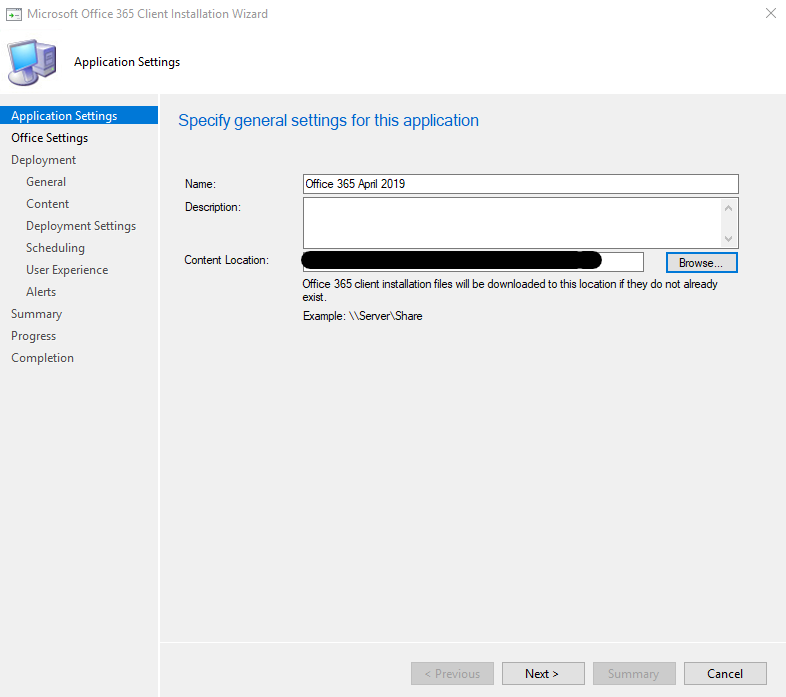
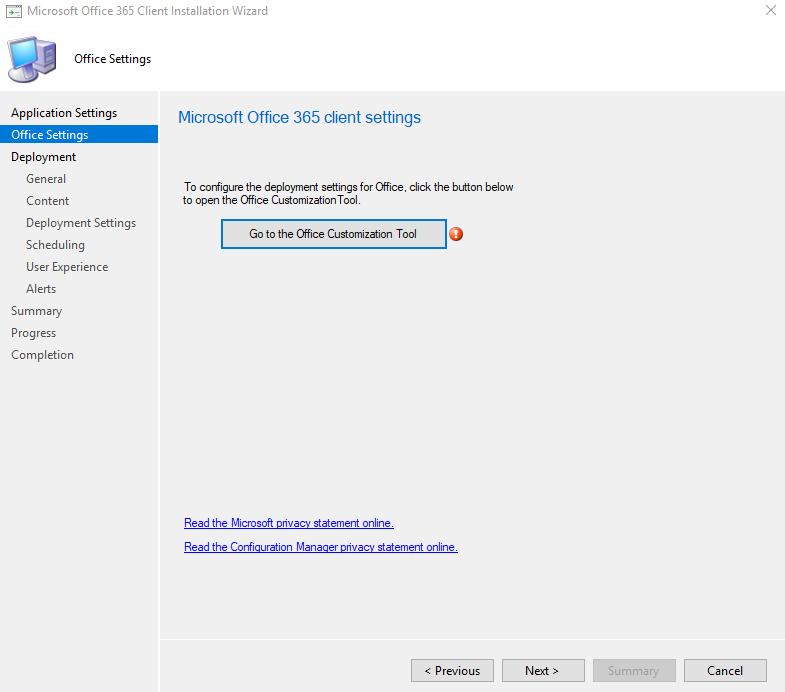
- Office Settings, select Go to the Office Customization Tool
- Architecture, Select 64-bit
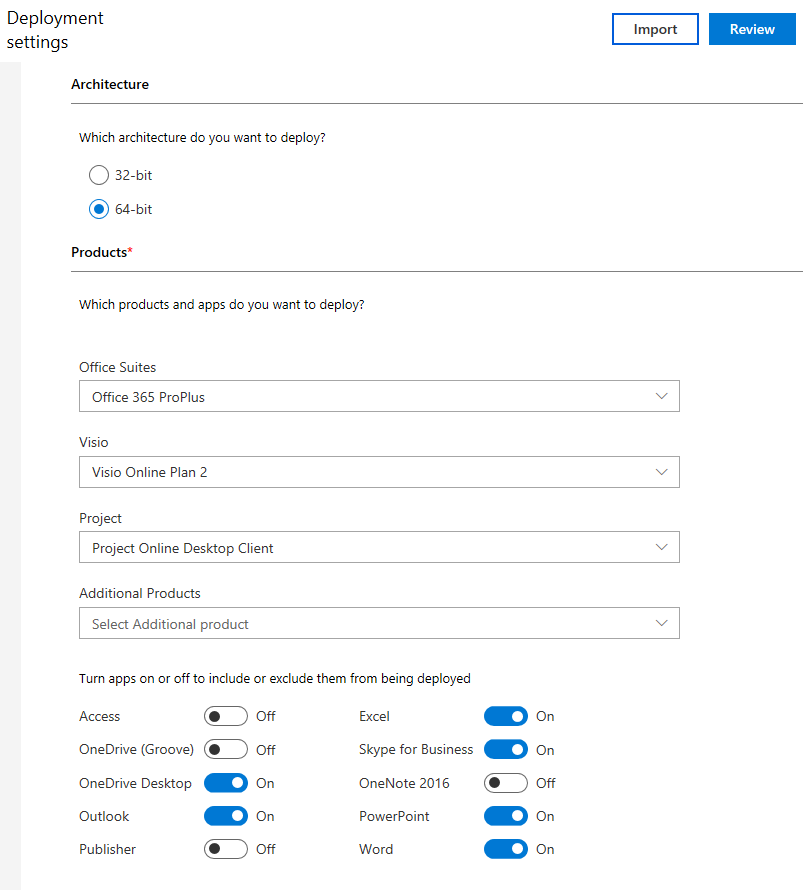
- Products, Office 365 ProPlus, Visio Online Plan 2, Project Online Desktop Client, can depends of your license , those are most used
- Turn apps on or off to include or exclude them from being deployed, select what you need
- Update channel, my recommendation Semi-Annual Chanel
- Which Version, usually I use the latest one if they are not restrictions environment
- Language, English US in my case, eventually other languages
- Installation options, Icons, logging options
- Upgrade option, chose your options
- Licensing and activation, select Automatically accept the EULA, if it will be a shared computer activation
- General, add the organization name and a description for this configuration
- Application preferences, accept the default or make you own settings
- Finish
- Preview
- Submit
- Next
- Architecture, Select 64-bit
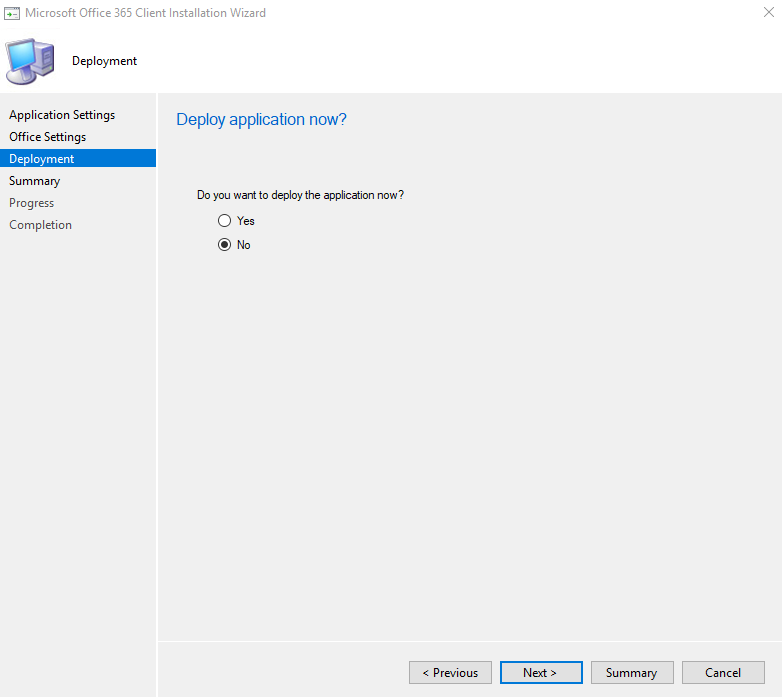
- Deployment, do you want to deploy the application now? Usually I chose to no.
- Summary
- Progress
- Completion
Now if you check the source folder
Also fell free to investigate configuration.xml file
<Configuration ID="bff136b6-a10f-4840-a586-d9aade12c98c" Host="cm">
<Add OfficeClientEdition="64" Channel="Broad" OfficeMgmtCOM="TRUE" Version="16.0.10730.20304" ForceUpgrade="TRUE">
<Product ID="O365ProPlusRetail">
<Language ID="en-us" />
<ExcludeApp ID="Access" />
<ExcludeApp ID="Groove" />
<ExcludeApp ID="OneNote" />
<ExcludeApp ID="Publisher" />
</Product>
<Product ID="VisioProRetail">
<Language ID="en-us" />
<ExcludeApp ID="Access" />
<ExcludeApp ID="Groove" />
<ExcludeApp ID="OneNote" />
<ExcludeApp ID="Publisher" />
</Product>
<Product ID="ProjectProRetail">
<Language ID="en-us" />
<ExcludeApp ID="Access" />
<ExcludeApp ID="Groove" />
<ExcludeApp ID="OneNote" />
<ExcludeApp ID="Publisher" />
</Product>
</Add>
<Property Name="SharedComputerLicensing" Value="0" />
<Property Name="PinIconsToTaskbar" Value="TRUE" />
<Property Name="SCLCacheOverride" Value="0" />
<RemoveMSI />
</Configuration>
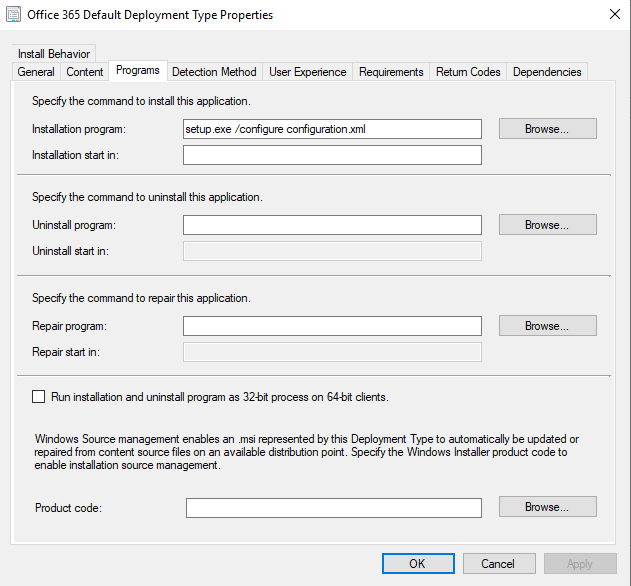
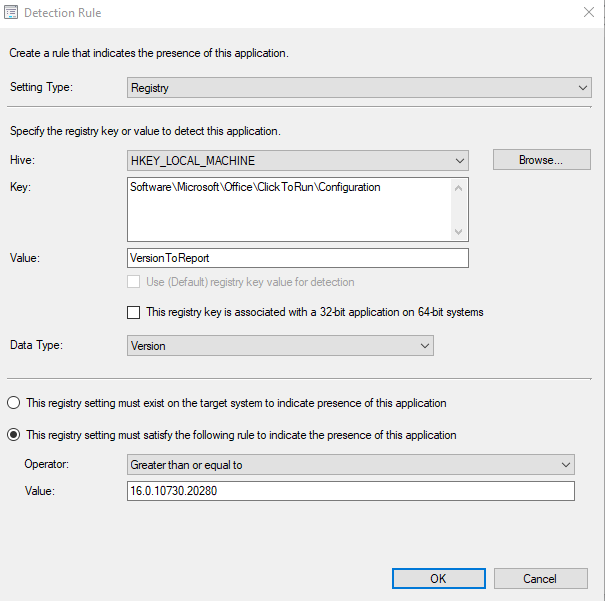
You can review a few important aspects of you freshly new created app.
Installation parameters:
